Mastering Positioning and Team Fights in Overwatch
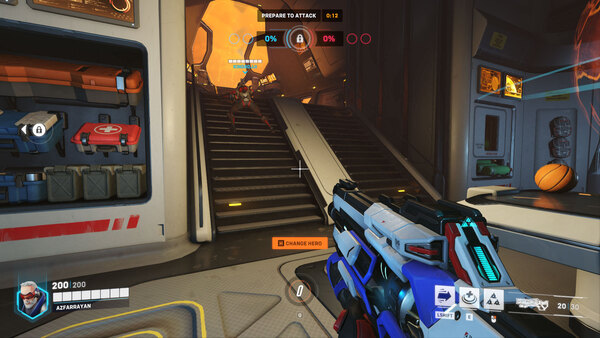
Winning in Overwatch is not only about aim. Good positioning determines how safely you can attack, receive healing, escape danger, and support your team. Understanding space can turn an average player into a much more effective teammate.
This guide focuses on positioning and team fights, especially cover, high ground, combat range, team coordination, and knowing when to attack or retreat.
Read the Battlefield
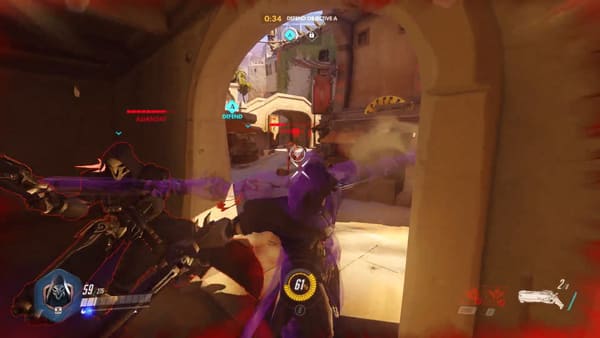
Before fighting, check where your teammates and enemies are positioned. Identify cover, high ground, escape routes, and dangerous enemy angles.
Do not rush directly toward the objective. A few seconds of observation can reveal a much safer approach.
Identify Major Threats
Watch for enemies who can punish exposed positions. Knowing the biggest threat helps determine where you should fight.
Fight Near Cover
Walls, corners, vehicles, and other structures provide protection without consuming support resources.
Attack from cover and move back when enemy pressure increases. Avoid standing in open areas where several opponents can attack you simultaneously.
Use Corners
Try to stay close enough to cover that you can quickly break enemy line of sight.
Maintain Effective Range
Every hero performs best at a certain distance. Close-range heroes need opportunities to approach enemies, while ranged heroes usually benefit from maintaining space.
Adjust your distance continuously. Advance when enemies retreat and move back when they pressure your team.
Avoid Unnecessary Risk
Do not move closer to an enemy unless your hero gains a meaningful advantage from doing so.
Control High Ground
High ground provides better visibility and stronger attack angles. It can also protect you from heroes who struggle to reach elevated positions.
Avoid dropping from high ground without a clear reason because returning may require time or important movement abilities.
High Ground Benefits
• Better visibility
• Strong firing angles
• Easier access to cover
• Protection from some close-range attacks
Create Safe Off-Angles
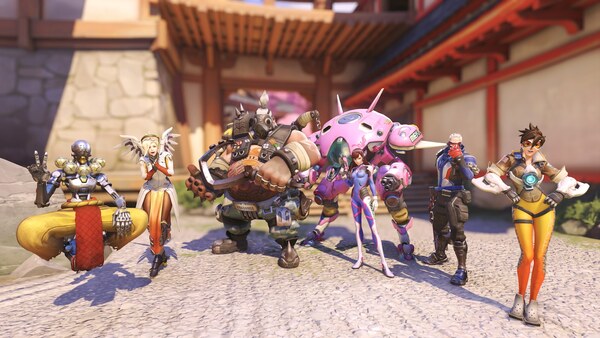
Attacking from multiple directions forces enemies to divide their attention. Damage heroes can use off-angles to create additional pressure.
However, do not move so far away that your team cannot support you.
Keep an Escape Route
A good off-angle should provide cover and a safe way to reconnect with teammates.
Position According to Your Role
Tanks generally control frontline space, damage heroes create pressure from useful angles, and supports position where they can help teammates while remaining protected.
Each role therefore requires a different approach to positioning.
Role Priorities
Tank: Create useful space without moving too far from support.
Damage: Find strong firing angles while avoiding isolation.
Support: Maintain line of sight with teammates while staying near cover.
Engage Together
Even excellent positioning becomes ineffective if teammates attack at different times.
Before engaging, check whether your team is alive, nearby, and ready to fight.
Before Attacking
• Check teammate positions
• Confirm support line of sight
• Identify enemy positions
• Consider available abilities
• Keep a retreat route
Coordinated pressure is usually much stronger than several individual attacks.
Track Abilities and Ultimates
Important abilities can change which positions are safe. Once an enemy uses a major defensive or movement ability, your team may have an opportunity to attack.
Ultimates can change the battlefield even more dramatically. Avoid unnecessary grouping when expecting dangerous area attacks.
Adapt Your Position
Do not remain in the same location simply because it was safe several seconds earlier. Move according to changing threats.
Know When to Retreat
Not every team fight can be won. If several teammates die early, continuing to fight may only delay the next coordinated engagement.
Retreat when possible and regroup instead of dying alone.
Avoid Staggering
Repeated individual deaths prevent the team from attacking together. Recognizing a lost fight early can save valuable time.
Reposition Throughout the Fight
Positioning continues to change during combat. Every elimination, ability, ultimate, and enemy movement can create new safe or dangerous areas.
Advance when your team gains control and retreat toward cover when enemies gain the advantage.
Quick Positioning Checklist
• Stay near cover
• Maintain effective range
• Use high ground
• Keep support line of sight
• Avoid isolation
• Track enemy abilities
• Push when your team has an advantage
• Retreat from lost fights
Conclusion
Good positioning in Overwatch means constantly controlling your relationship with teammates, enemies, and the environment. Use cover, high ground, effective range, and safe angles to reduce unnecessary risk.
Coordinate attacks with your team instead of fighting alone. Track important abilities and reposition whenever the battlefield changes.
Mechanical skill helps win duels, but strong positioning creates advantages throughout an entire match. Learning when to advance, hold, or retreat makes team fights more controlled and consistent.